Getting Started with Dialixo
Complete guide to setting up your AI voice automation platform. Follow these steps to launch your first AI voice agent and start automating your customer interactions.
Step-by-Step Guide
Follow these comprehensive steps to set up your Dialixo account and launch your AI voice automation
Quick Navigation
Account Setup
Steps 1-3Sign Up for Dialixo
Go to the Sign Up URL for registration and fill in your details:
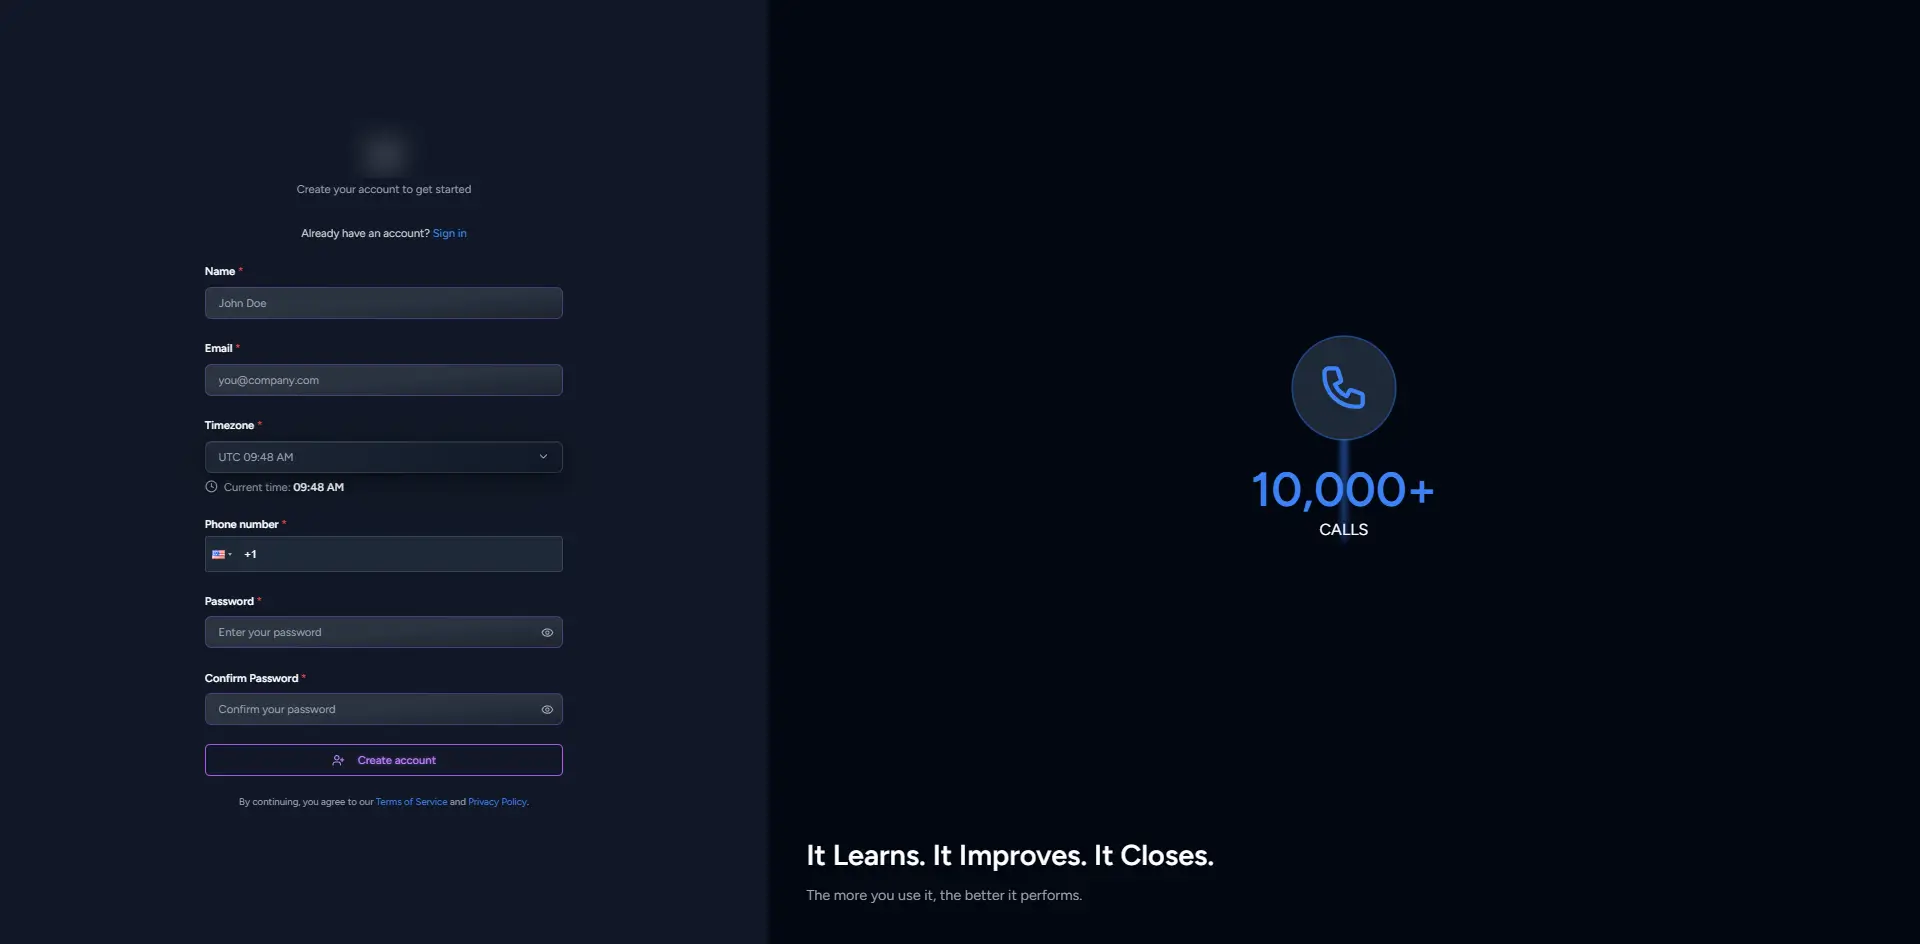
- Full Name: Enter your first and last name
- Personal Email Address: Provide your active email address
- Time Zone: Select the correct time zone for your location
- Phone Number: Enter a valid phone number
- Password: Choose a secure password for your account
Once you've filled in all the required information, click on the Sign Up button to create your account.
Sign In to Dialixo
After registering, go to the Sign In URL for login.
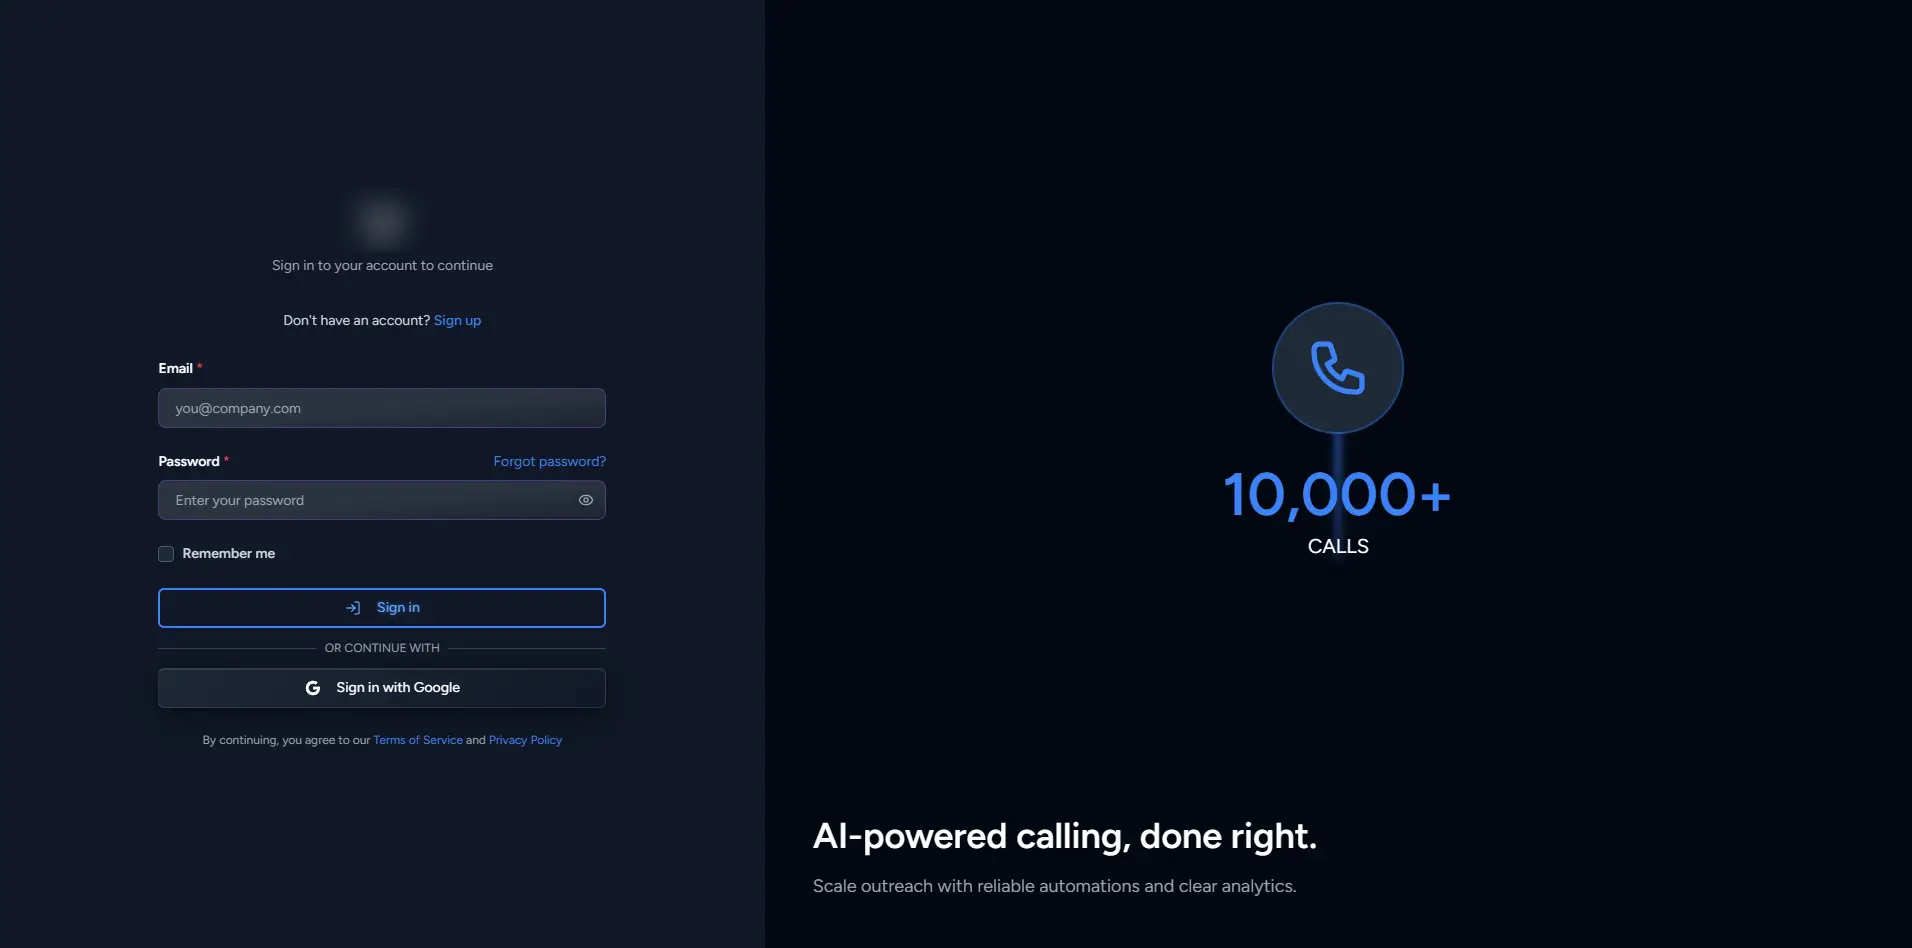
- Enter your email address and password that you used during registration
- Click Login to access your account
Sign Up & Sign In with Gmail
Alternatively, you can Sign Up and Sign In using your Gmail account for faster registration and login:
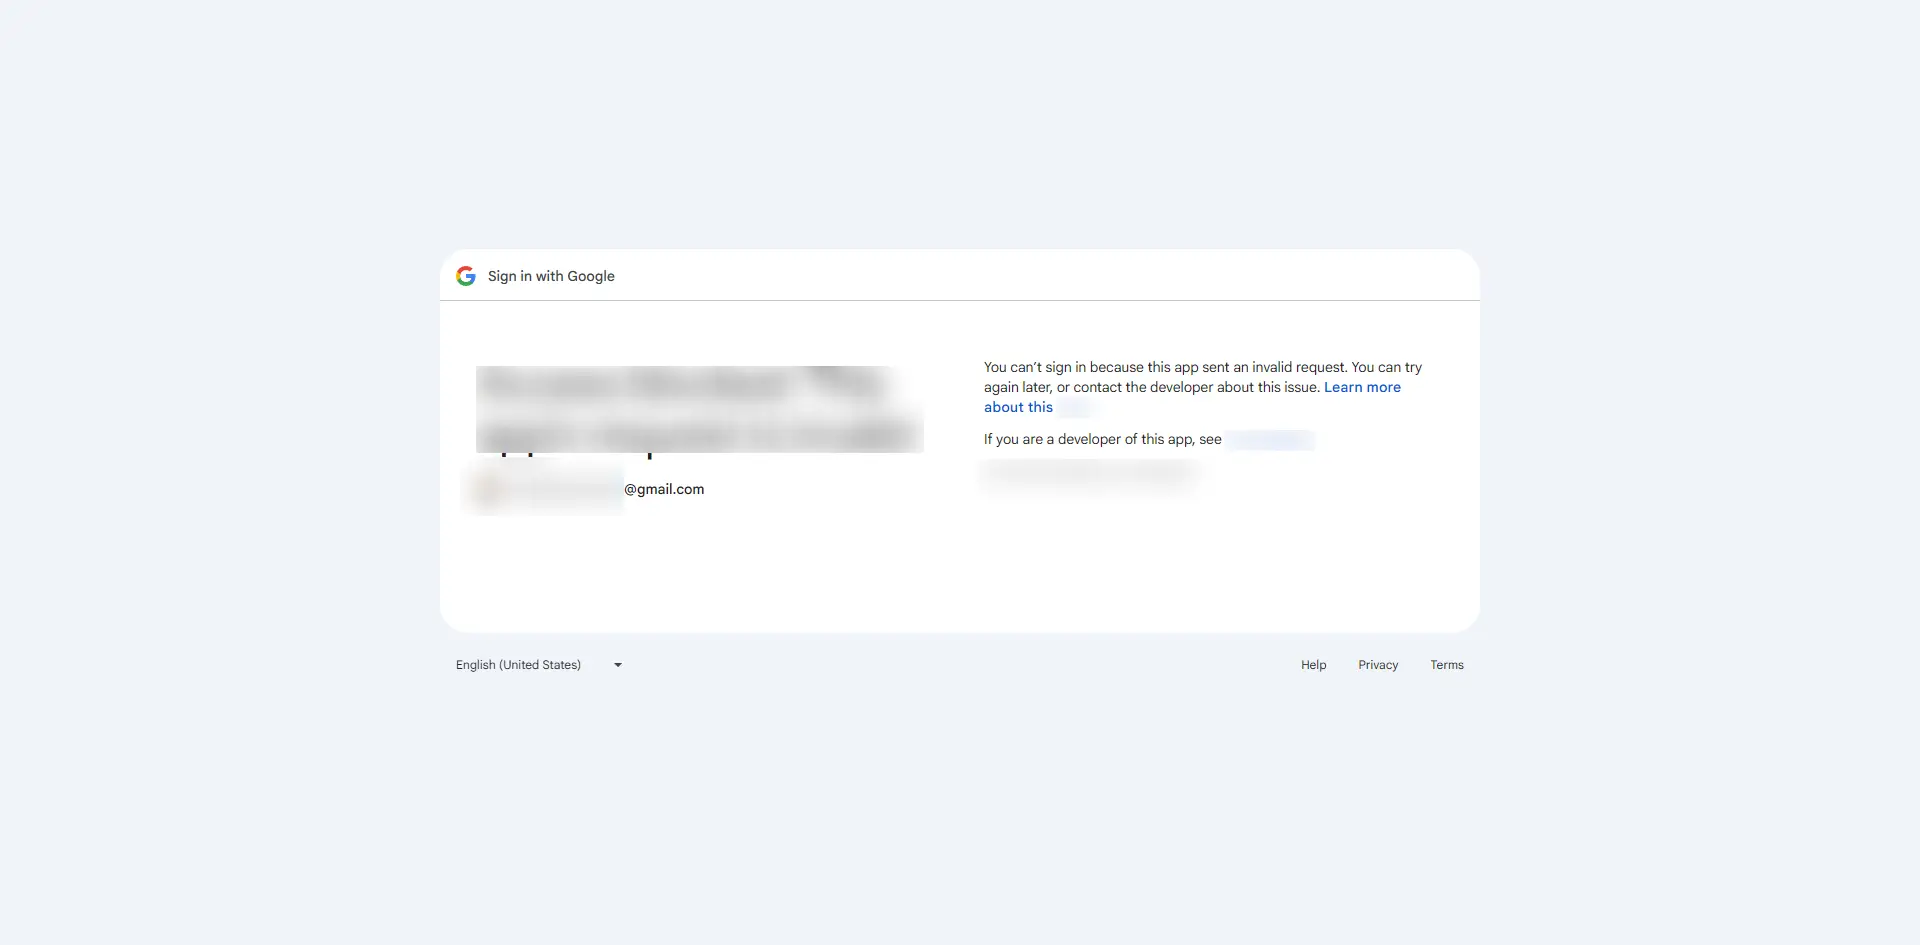
- Simply click on the Sign Up with Gmail or Sign In with Gmail button
- Grant authentication permissions for Dialixo to access your Google account
- After logging in, you'll be directed to the Dashboard Overview
Dashboard Overview
Step 4Navigate to the Dashboard
Once logged in, you will see the Dashboard. The Dashboard provides a quick overview of your current activity, including:
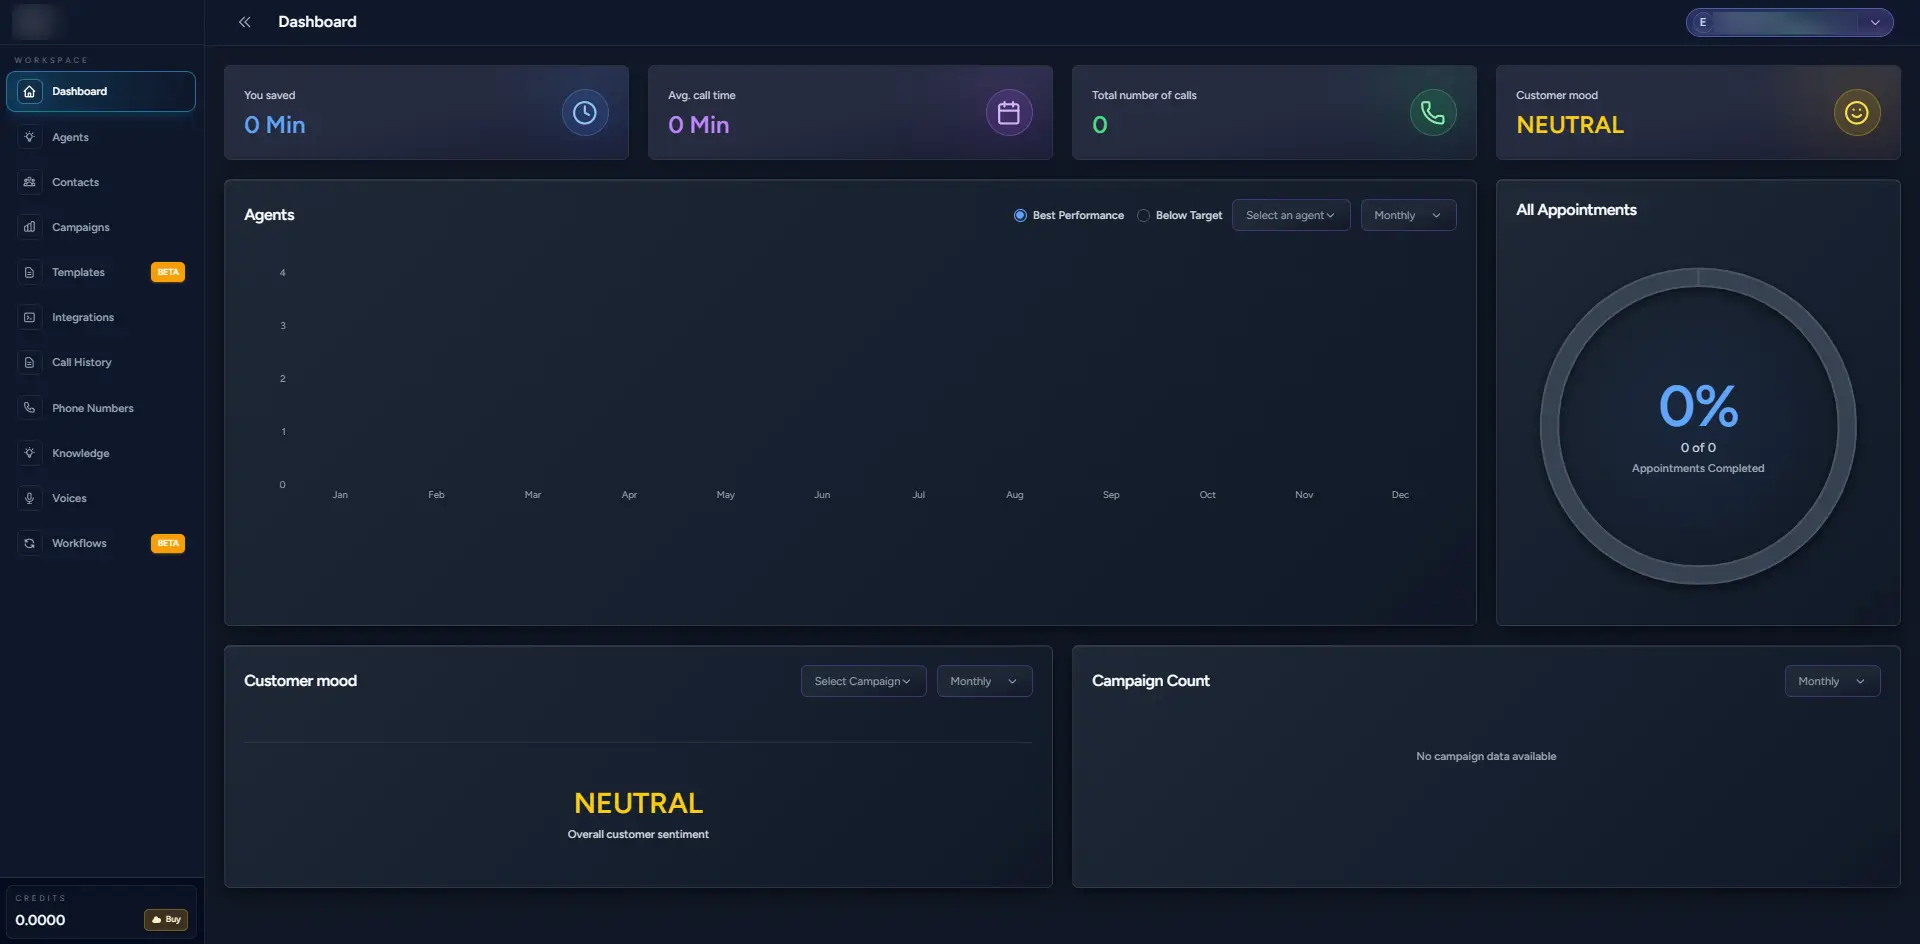
- Recent campaigns
- AI voice agent statistics
- Call activity
- Account balance
Create Your AI Voice Agent
Step 5Create New Agent
In the Agent Section, click on Create New Agent to start automating your AI voice assistant.
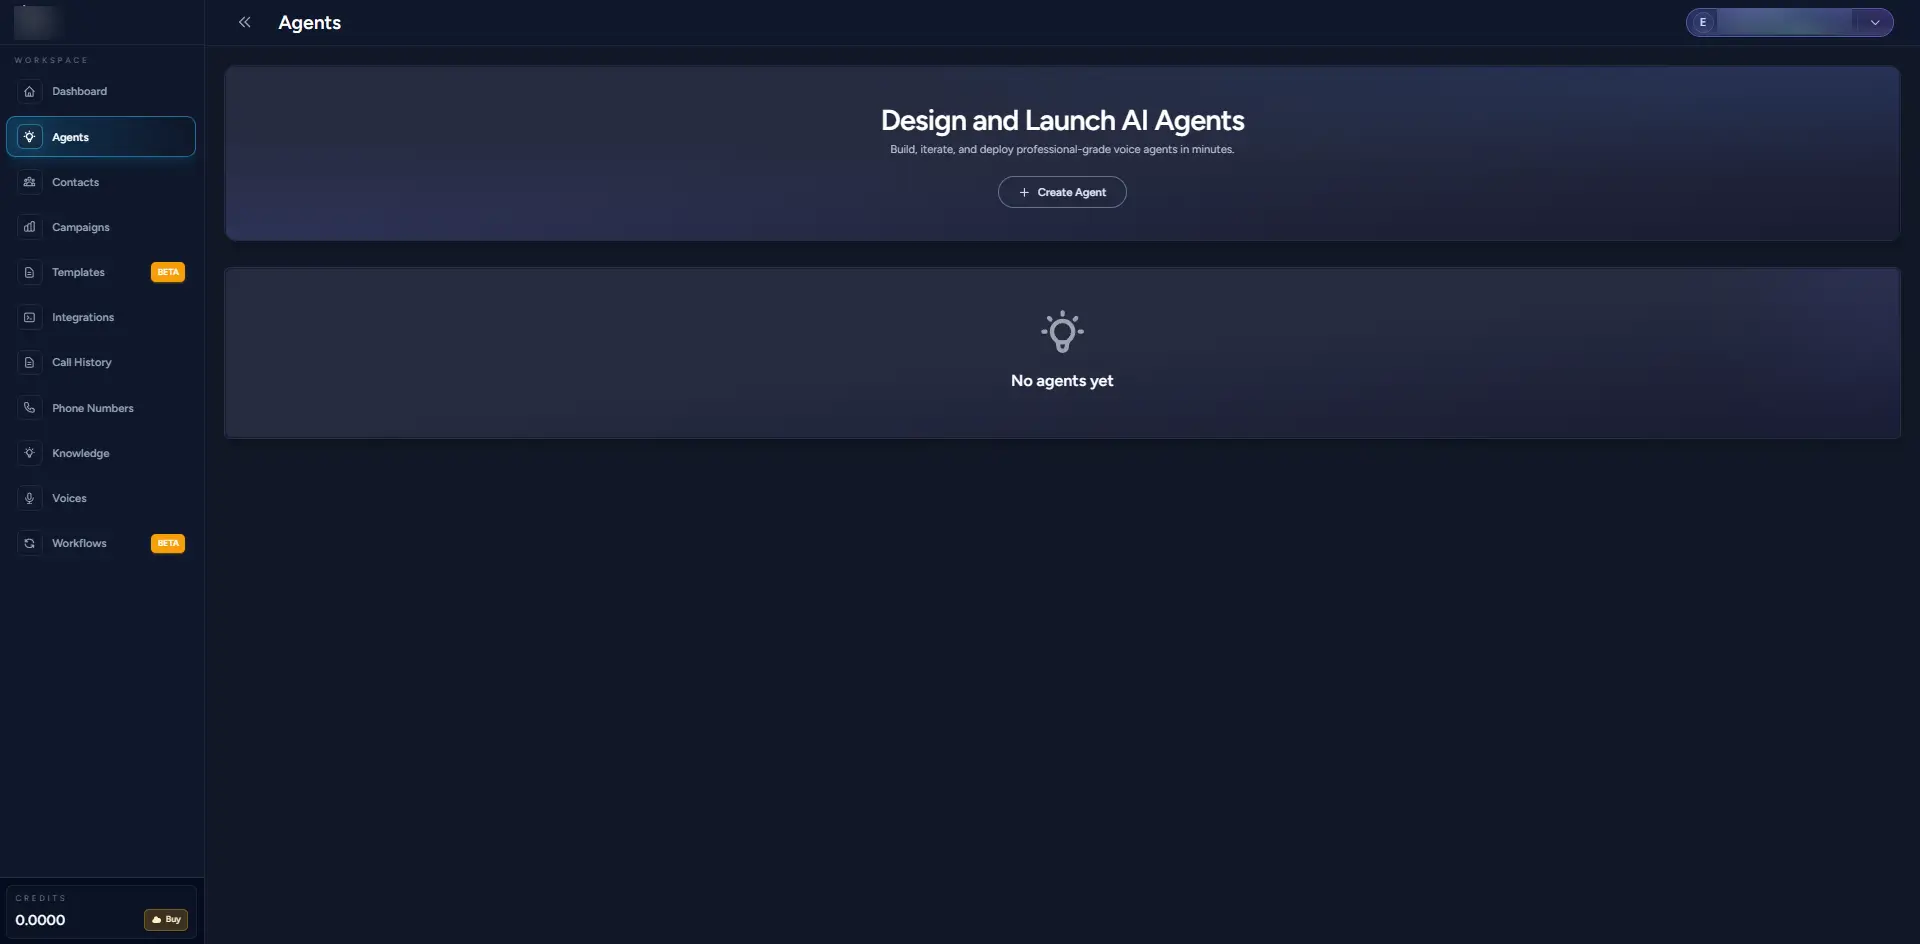
Follow the steps to set up your agent, including:
- Defining the agent's purpose (e.g., customer support, lead qualification)
- Selecting the voice for your agent
- Configuring the conversation flow and knowledge sources
Create Contacts Group
Step 6Organize Your Contacts
Once your agent is set up, you can create a contacts group to organize your customers or leads for follow-ups.
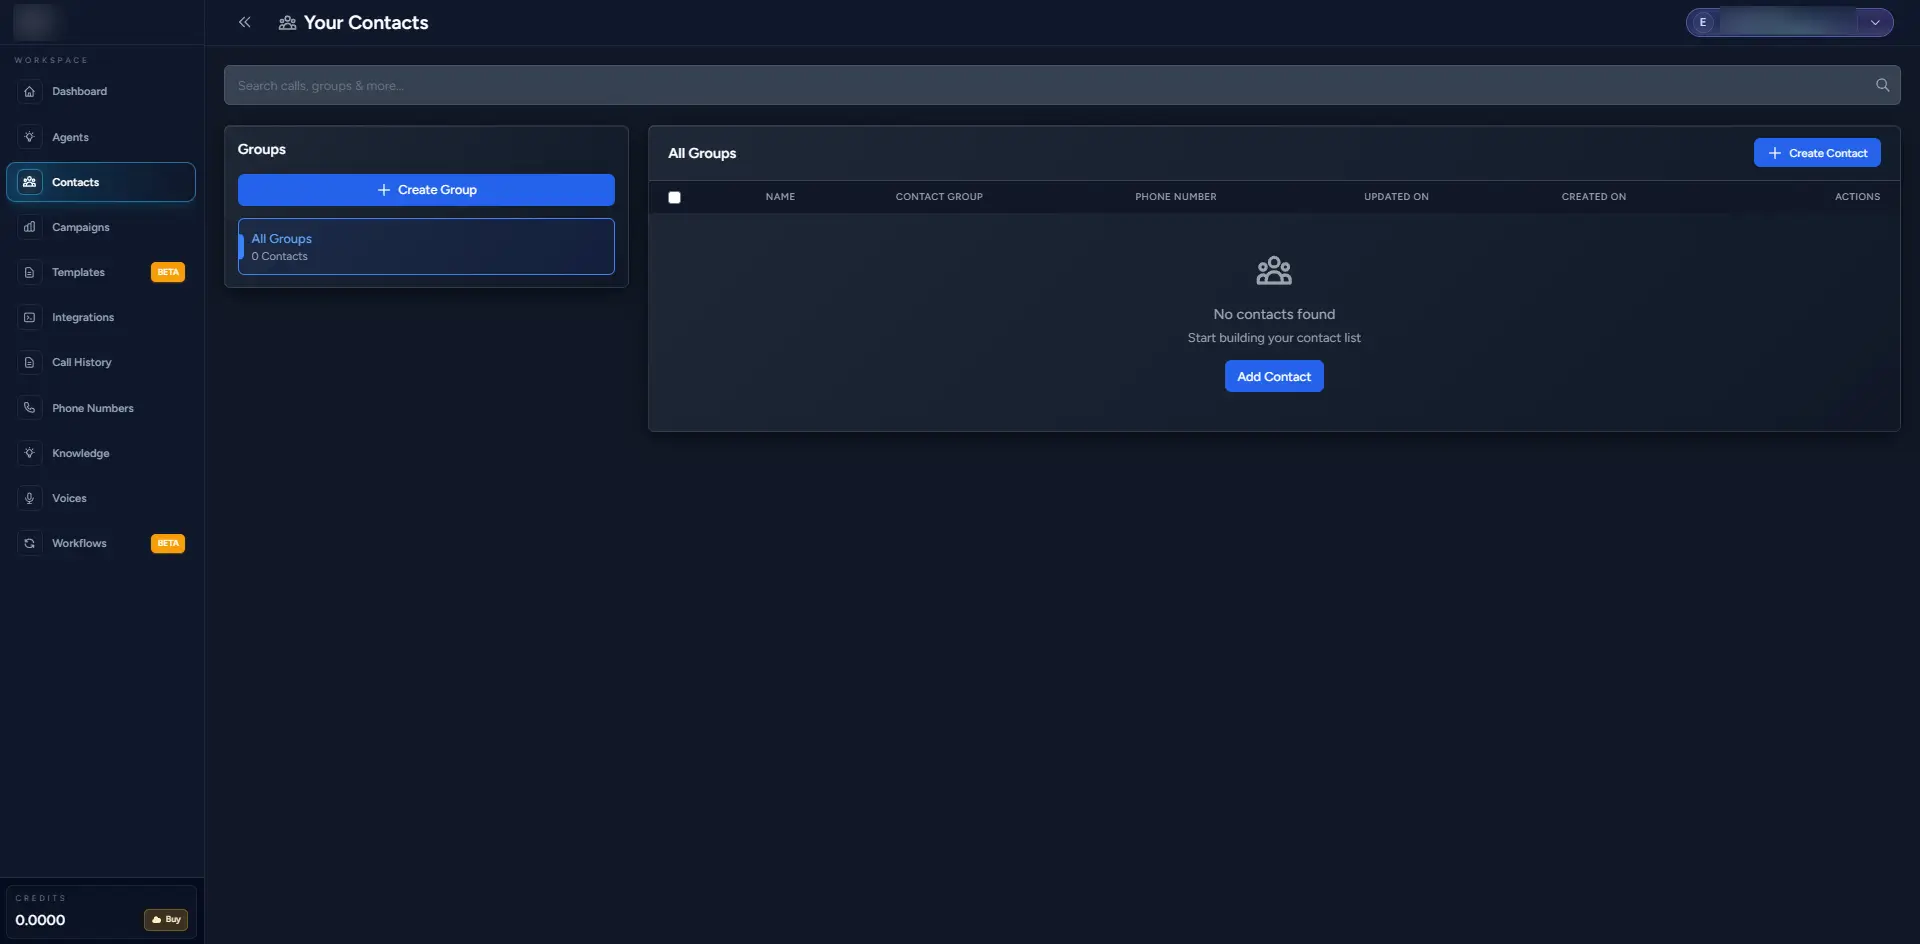
- In the Contacts Section, click on Create Contacts Group
- Add the contacts that need to be followed up on, either by importing from a file or manually adding them
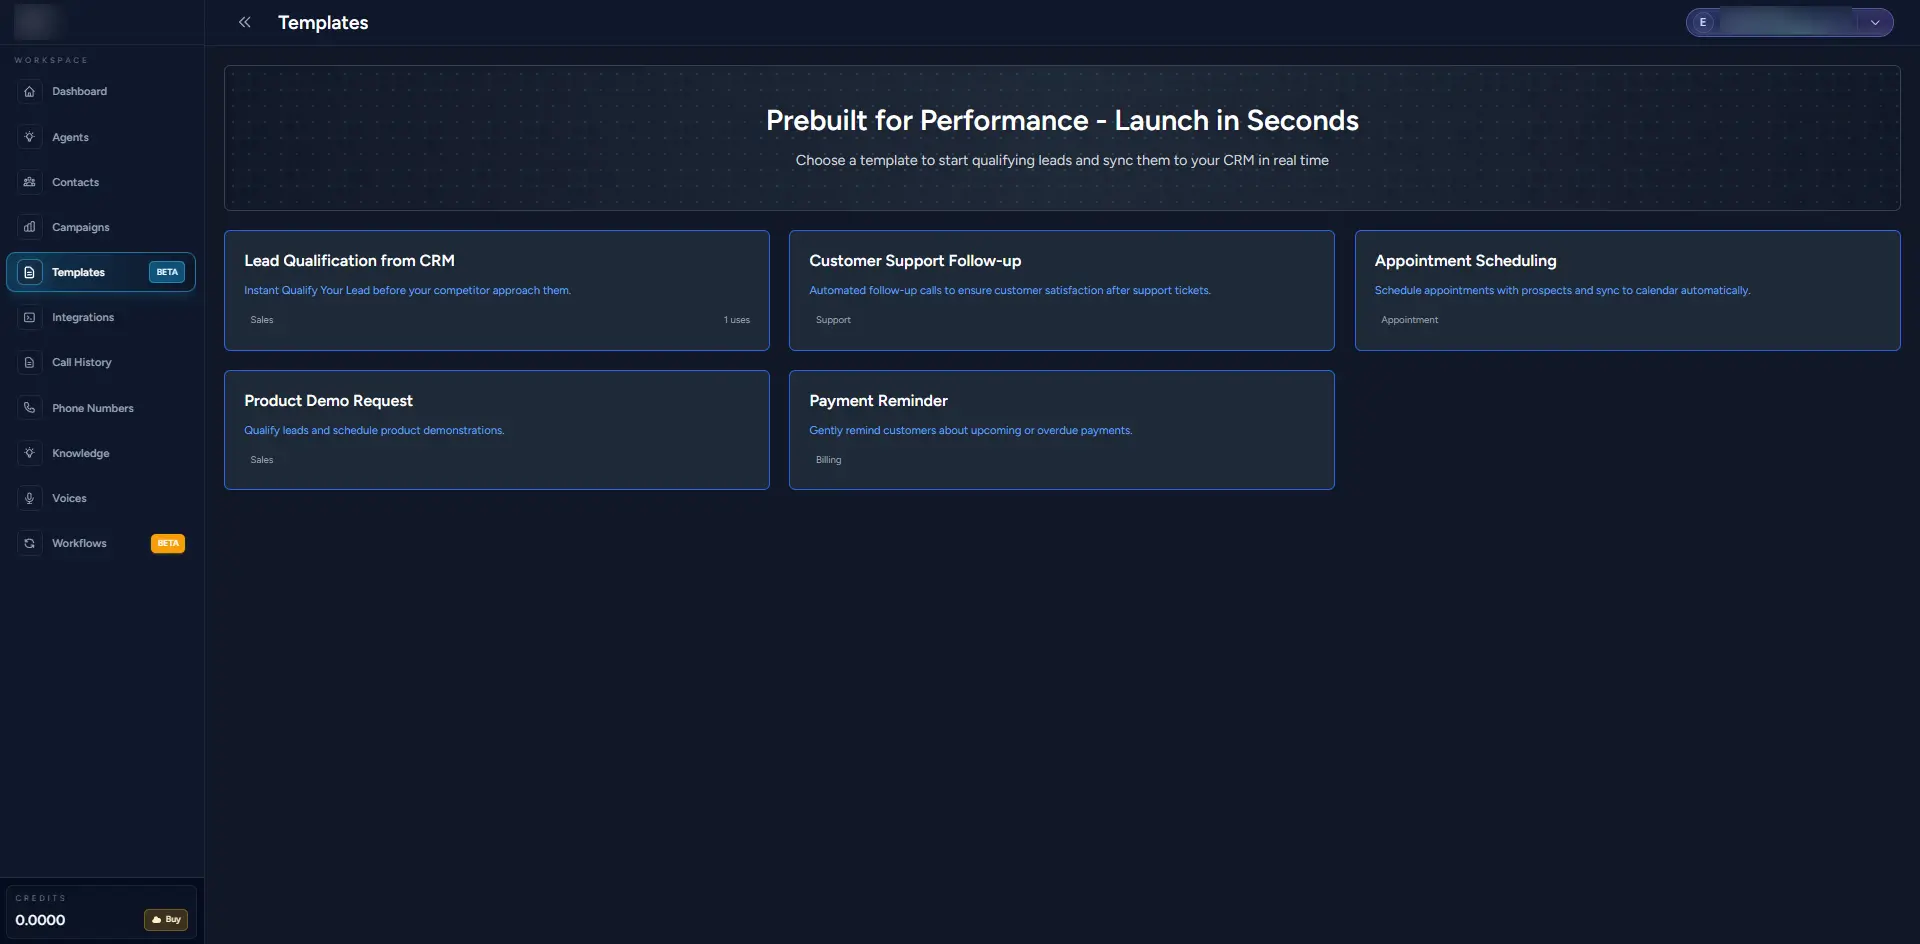
Create Campaign
Step 7Launch Your Campaign
In the Campaign Section, click on Create New Campaign.

- Select an existing customer database or use your contacts group to launch the campaign
- Use prebuilt templates designed for performance to launch campaigns in seconds
- Choose from options like lead qualification, appointment setting, or customer service automation
Sync & Connect
Steps 8-9Sync with CRM
After selecting a campaign template, you can sync your leads to your CRM in real time.
This allows you to manage and track interactions seamlessly without needing to manually update records.
Connect Your Favorite Tools
In the Integrations Section, connect your favorite tools to enhance the functionality of your AI voice agent:

- CRM platforms like HubSpot, Salesforce, or Pipedrive
- Telephony providers like Twilio or Telnyx
- Calendar integrations like Google Calendar for scheduling
- AI tools like OpenAI for NLP capabilities
These integrations will allow you to automate tasks, personalize interactions, and provide better customer experiences.
Monitor & Manage
Steps 10-11Monitor Call Activity
In the Call Activity Section, you can monitor and filter each call's history.

Track:
- Call status (completed, missed, failed)
- Duration of calls
- Outcomes (successful lead, appointment set, etc.)
Filter the calls by date, agent, or campaign for detailed reporting.
Buy and Link Numbers
In the Dashboard, you can buy and link phone numbers to your account.
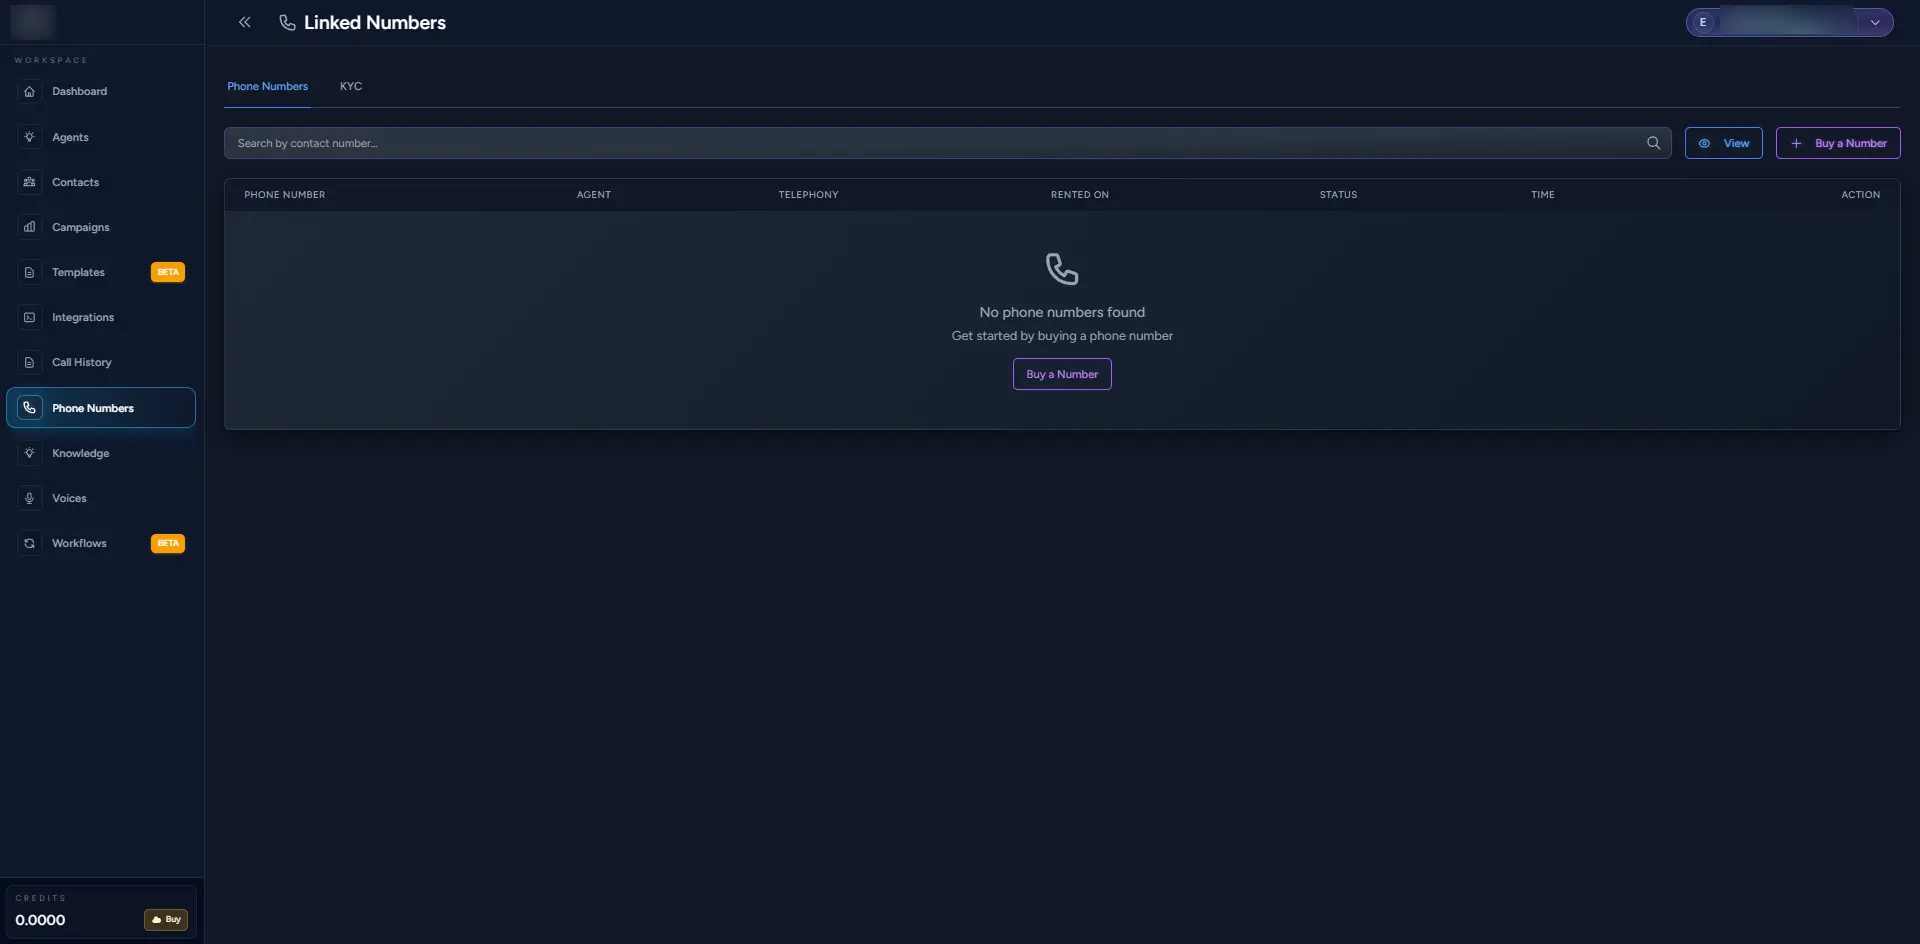
- To purchase a number, click on the Buy Number option
- KYC (Know Your Customer) verification is required to ensure that the number is legally registered to your account
- You'll need to provide the necessary documents for this process
AI Agent Knowledge Base
Step 12Train Your AI Agent
Your AI voice agent can learn from various sources:
- User-guided PDFs
- Websites with knowledge bases or FAQs

These sources help your agent respond intelligently to user queries by pulling in relevant information.
Select AI Voices
Step 13Choose Your Voice
You can choose the voice for your agent from a variety of AI voice options. This includes different languages, accents, and tones.

Select the voice that best suits your brand's personality and target audience.
Create Workflows
Step 14Design Conversation Logic
In the Workflows Section, you can create custom workflows for your AI agent.
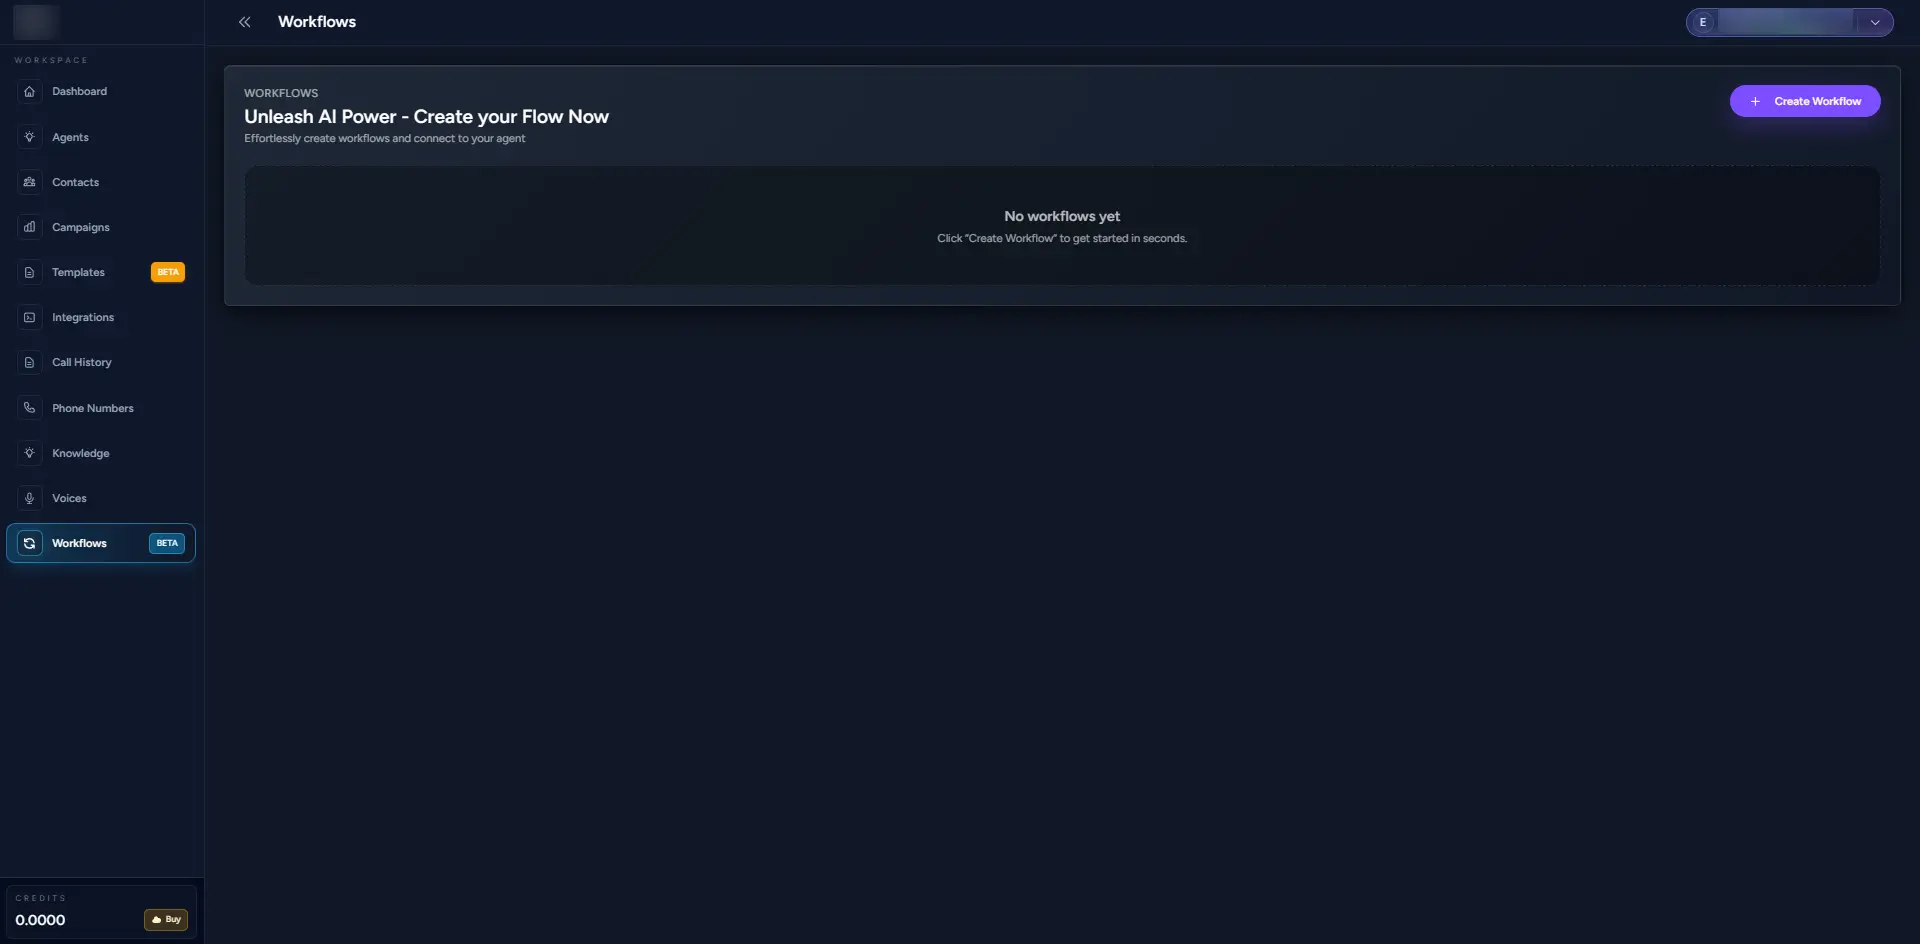
A workflow defines the conversation logic and actions the agent will take during an interaction, such as:
- Asking follow-up questions
- Triggering email notifications
- Logging call outcomes
Use the drag-and-drop interface to easily create and modify workflows.
Ready to Launch!
Complete🎉 Congratulations!
Once you've completed the setup, your AI voice agent will be ready to handle tasks like qualifying leads, answering customer inquiries, and managing campaigns.
You'll be able to continuously monitor the performance, adjust workflows, and refine your AI agent for optimal results.
Frequently Asked Questions
Quick answers to common questions about getting started with Dialixo